


Create custom photo magnets from your portrait session or wedding photos to show off year-round. These gorgeous magnets are vibrant, fun and have their own personal touch. Not only can these magnets be save-the-dates, but also cute little thank you’s for your guests or small gifts just because. This craft is simple and fun, with just a few supplies needed. Enjoy!
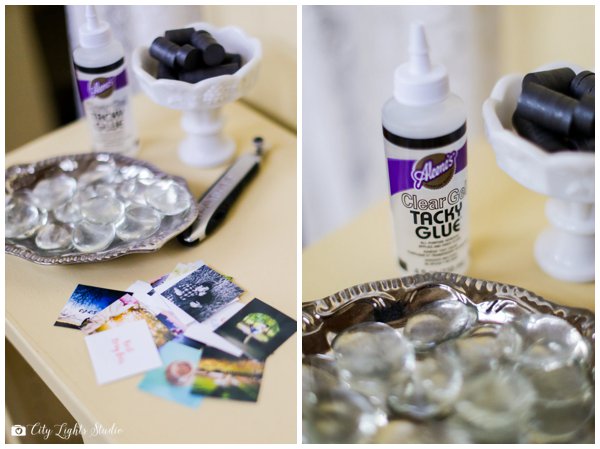
What You’ll Need:
- Exacto Knife or Scissors
- Clear Accent Gems or Mosaic Gems
- Pack of Magnets (Strength-6)
- Glossy Photo Paper
- Printer
- Aleene’s Clear Glue
- E600 Glue or Super Glue

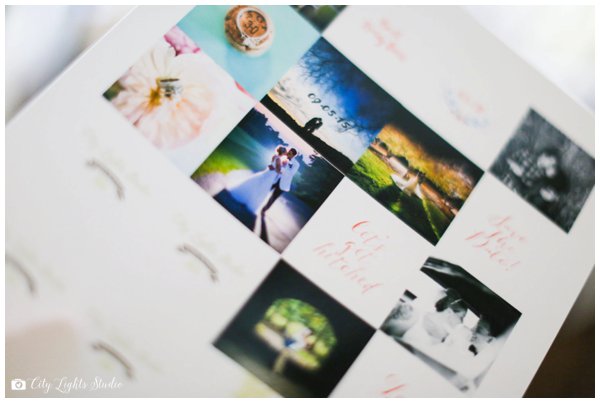
1. Using a glossy ink jet printer paper, size the pictures to fit your gems . Most of the gems are either 1″x1″ to 2″x2″, roughly, so lay out the pictures on your computer and size accordingly. It’s always better to size them larger than you need so you can cut freely. Print the photos out onto photo paper when you’re ready.
Tip : If you don’t have Photoshop, you can use Microsoft Word & set up the sheet as if you were printing labels. This will create small photo areas.
 2. Choose a photo to start. Place medium size dot of glue on the gem. Then press the gem firmly down on your picture and wiggle a bit to remove air bubbles from the glue. It is important to make sure that the whole picture is glued on, including all the edges. Let the glue set for at least thirty minutes. If you have time, let dry overnight before cutting.

3. With the glue dried, use either an Exacto knife or scissors to cut the extra corners of the picture around the gem. If cutting with an Exacto knife, place gem onto healing pad or cutting board first. It’s ok if the edges aren’t smooth; the magnification of the gem will hide this for you!
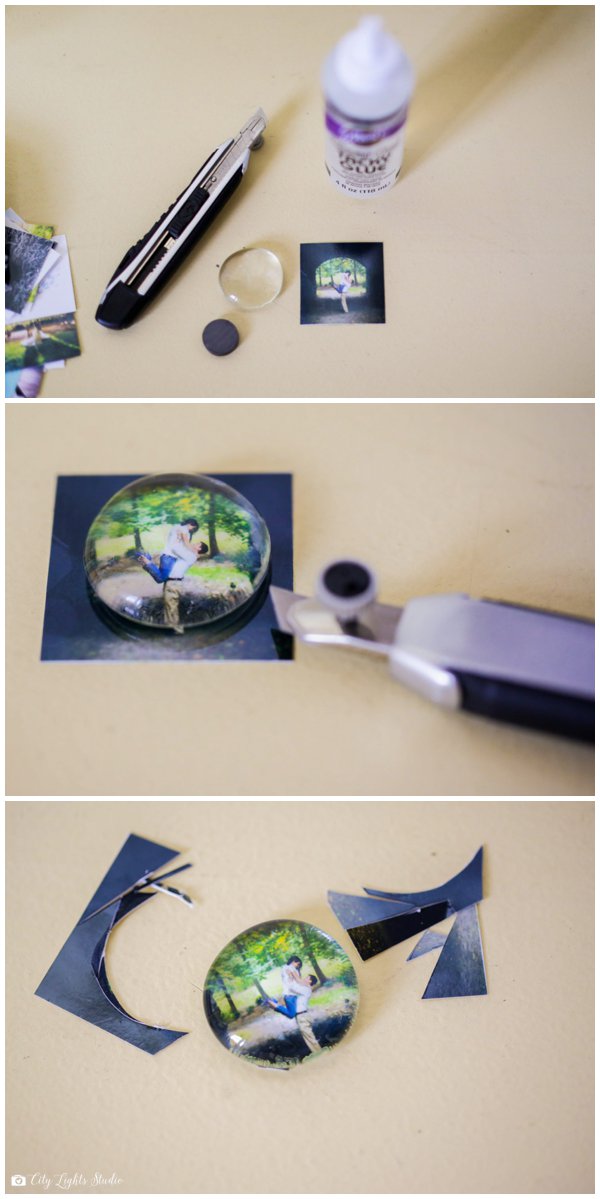
4. Lastly, use Super Glue, Tacky Glue or E-600 glue to secure a magnet to the back. Let dry before moving.

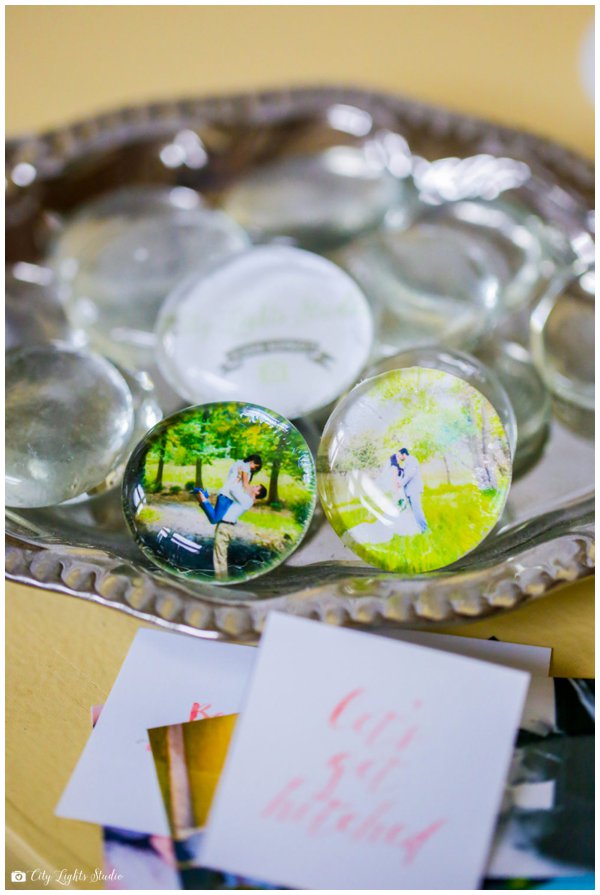
5. Hang on your fridge, send to your friends, enjoy!!
 Please check back for more fun DIY creations!